Building Our New Home Cinema Demo Room – Week 1 Progress
Building Our New Home Cinema Demo Room – Week 1 Progress
We’re excited to share the very first stage in building our brand-new home cinema demo room here in Market Harborough. This is where future clients will be able to experience the very best in cinema design, acoustics, and technology — and we’re documenting the entire journey.
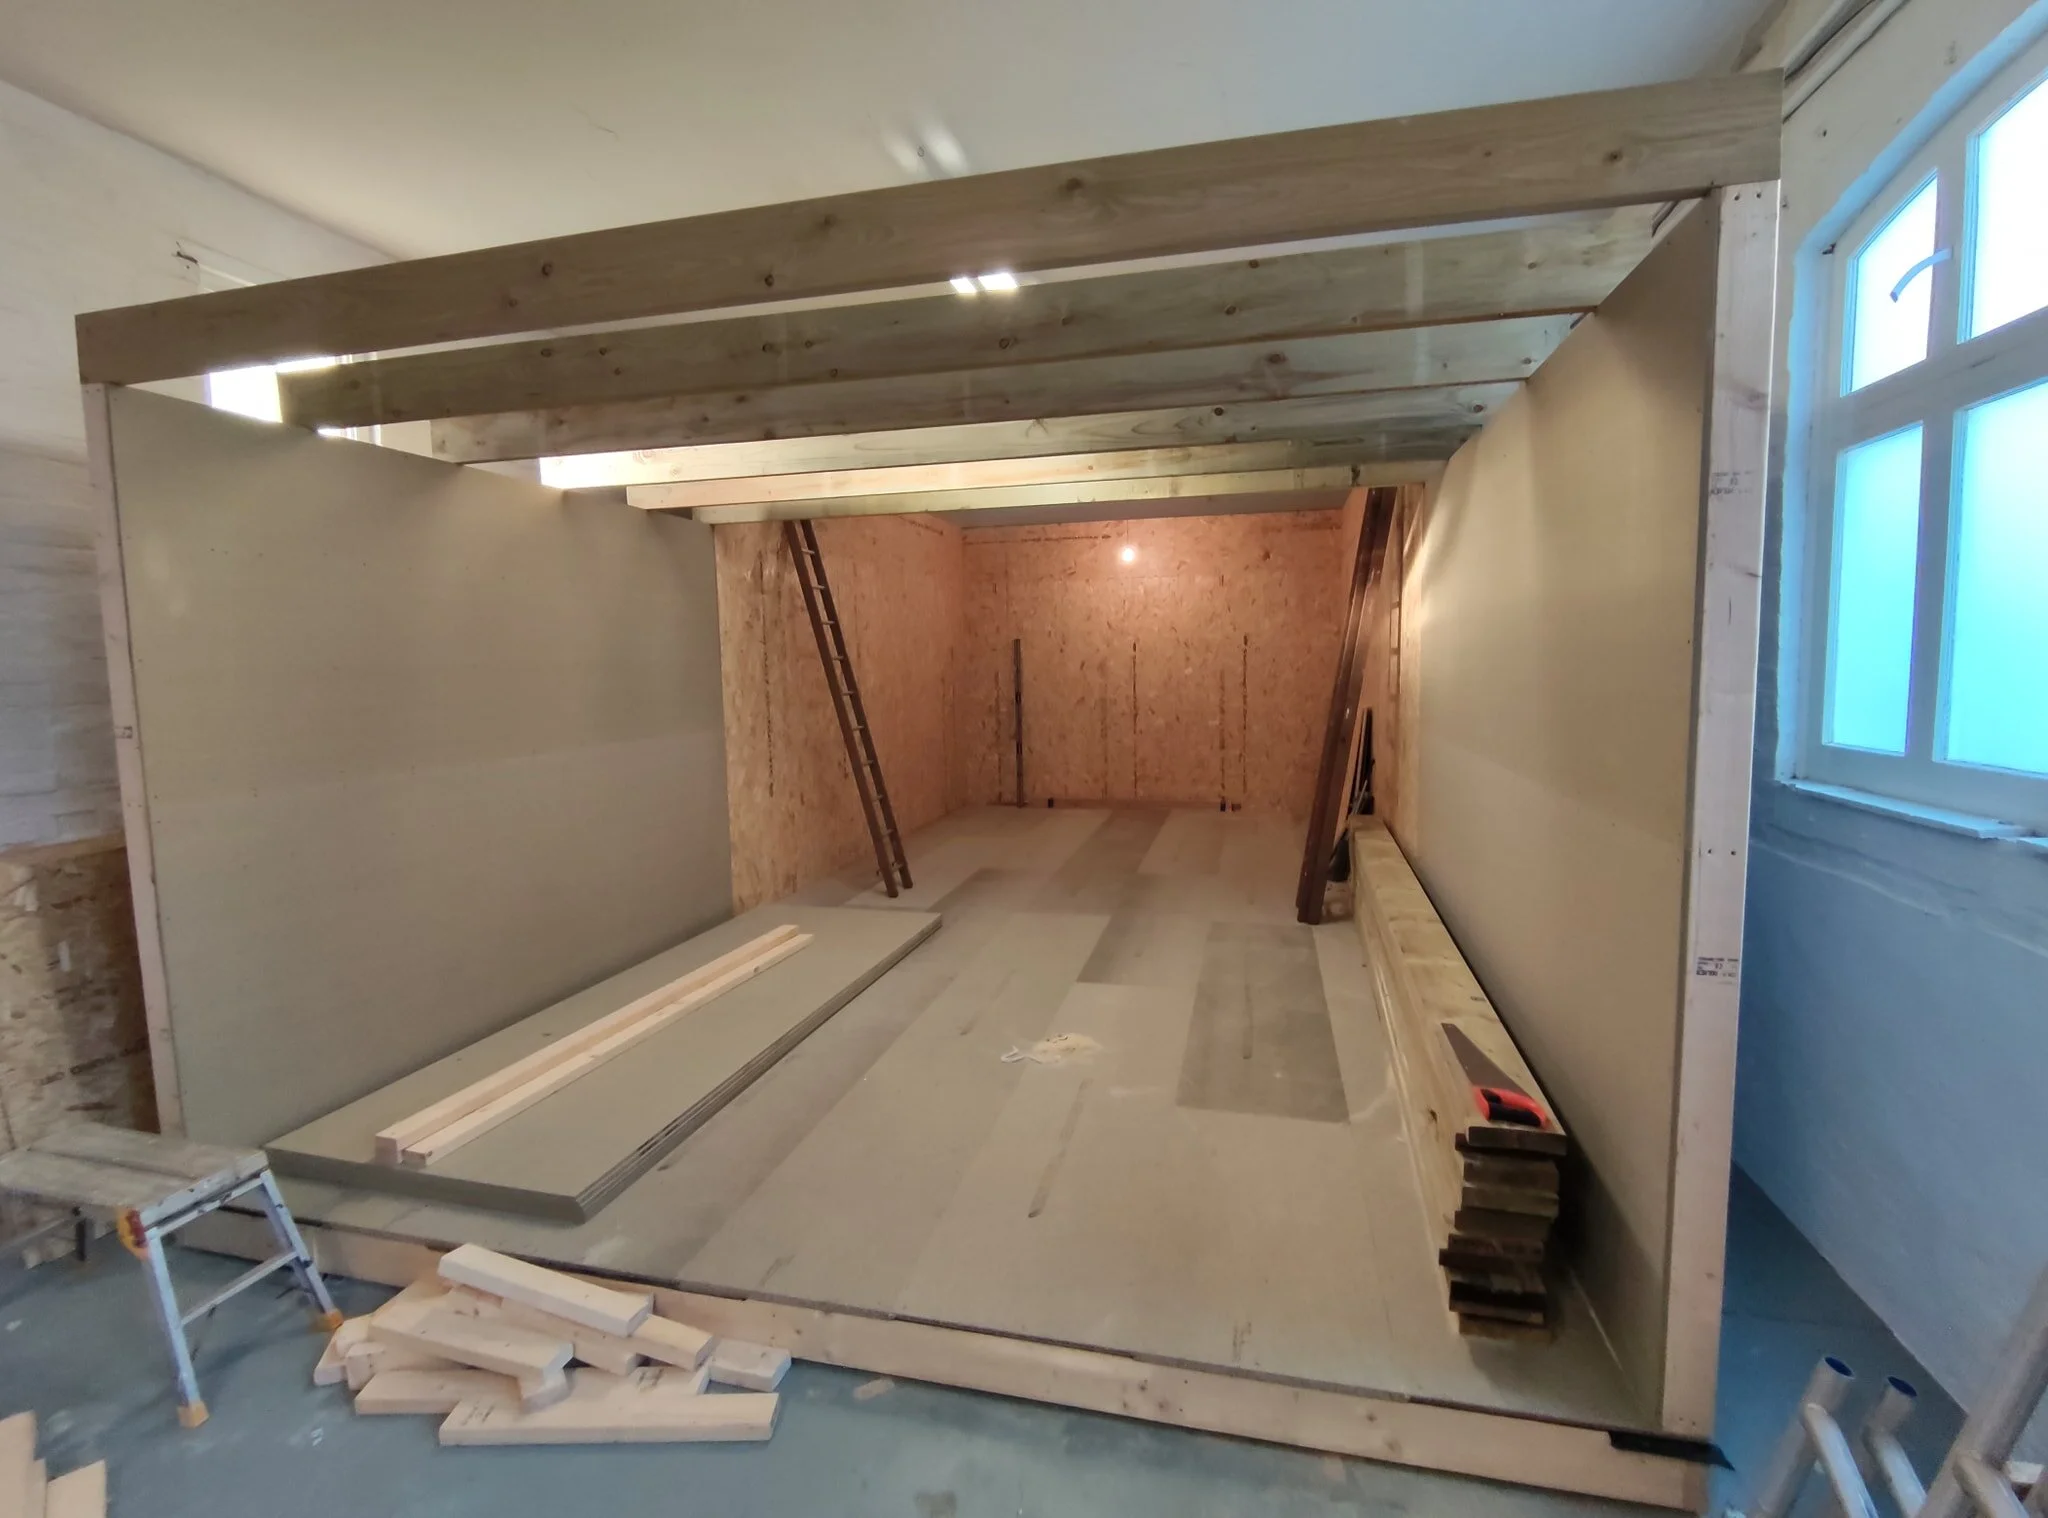
This week marks Stage 1: the build-out of an 8m x 4m room-within-a-room, a vital step for controlling sound and creating the perfect environment for testing and showcasing our bespoke cinema installations.
Why Build a Room Within a Room?
Our old workshop space was far too big, draughty, and irregularly shaped, making it impossible to control acoustics properly. The solution? Build a completely independent structure inside it. The demo room will be fully insulated, isolated, and acoustically engineered, creating the ideal test environment for luxury home cinema design.
The space was once the stables of a local inn just off St Mary’s Road in Market Harborough — so this project combines heritage character with cutting-edge technology.
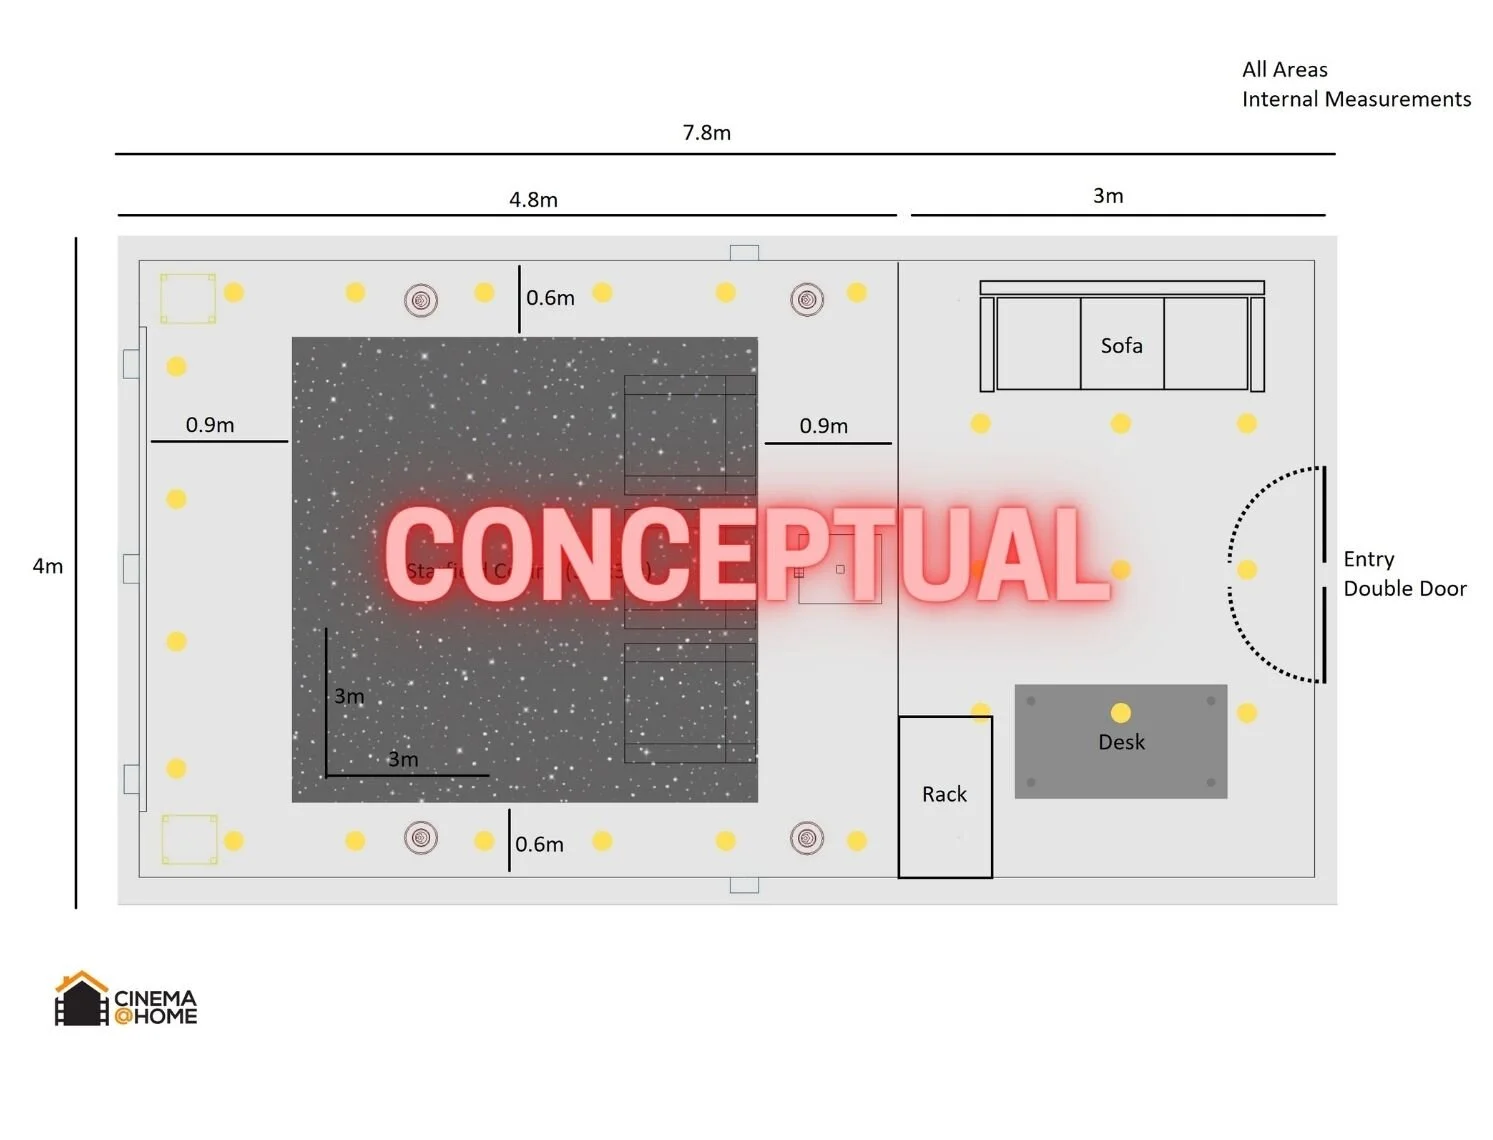
Concept and Vision
Our early sketches mapped out the essentials:
A starfield ceiling to add that magical cinema atmosphere.
A dedicated office area for design and control systems.
Double doors for an impressive entrance.
Above all: soundproofing and acoustic precision at every stage.
These were the big-picture ideas. Detailed CAD drawings and precise engineering will follow once the shell is complete, using exact “as-built” measurements to fine-tune speaker positions, projection setup, and acoustic treatment.
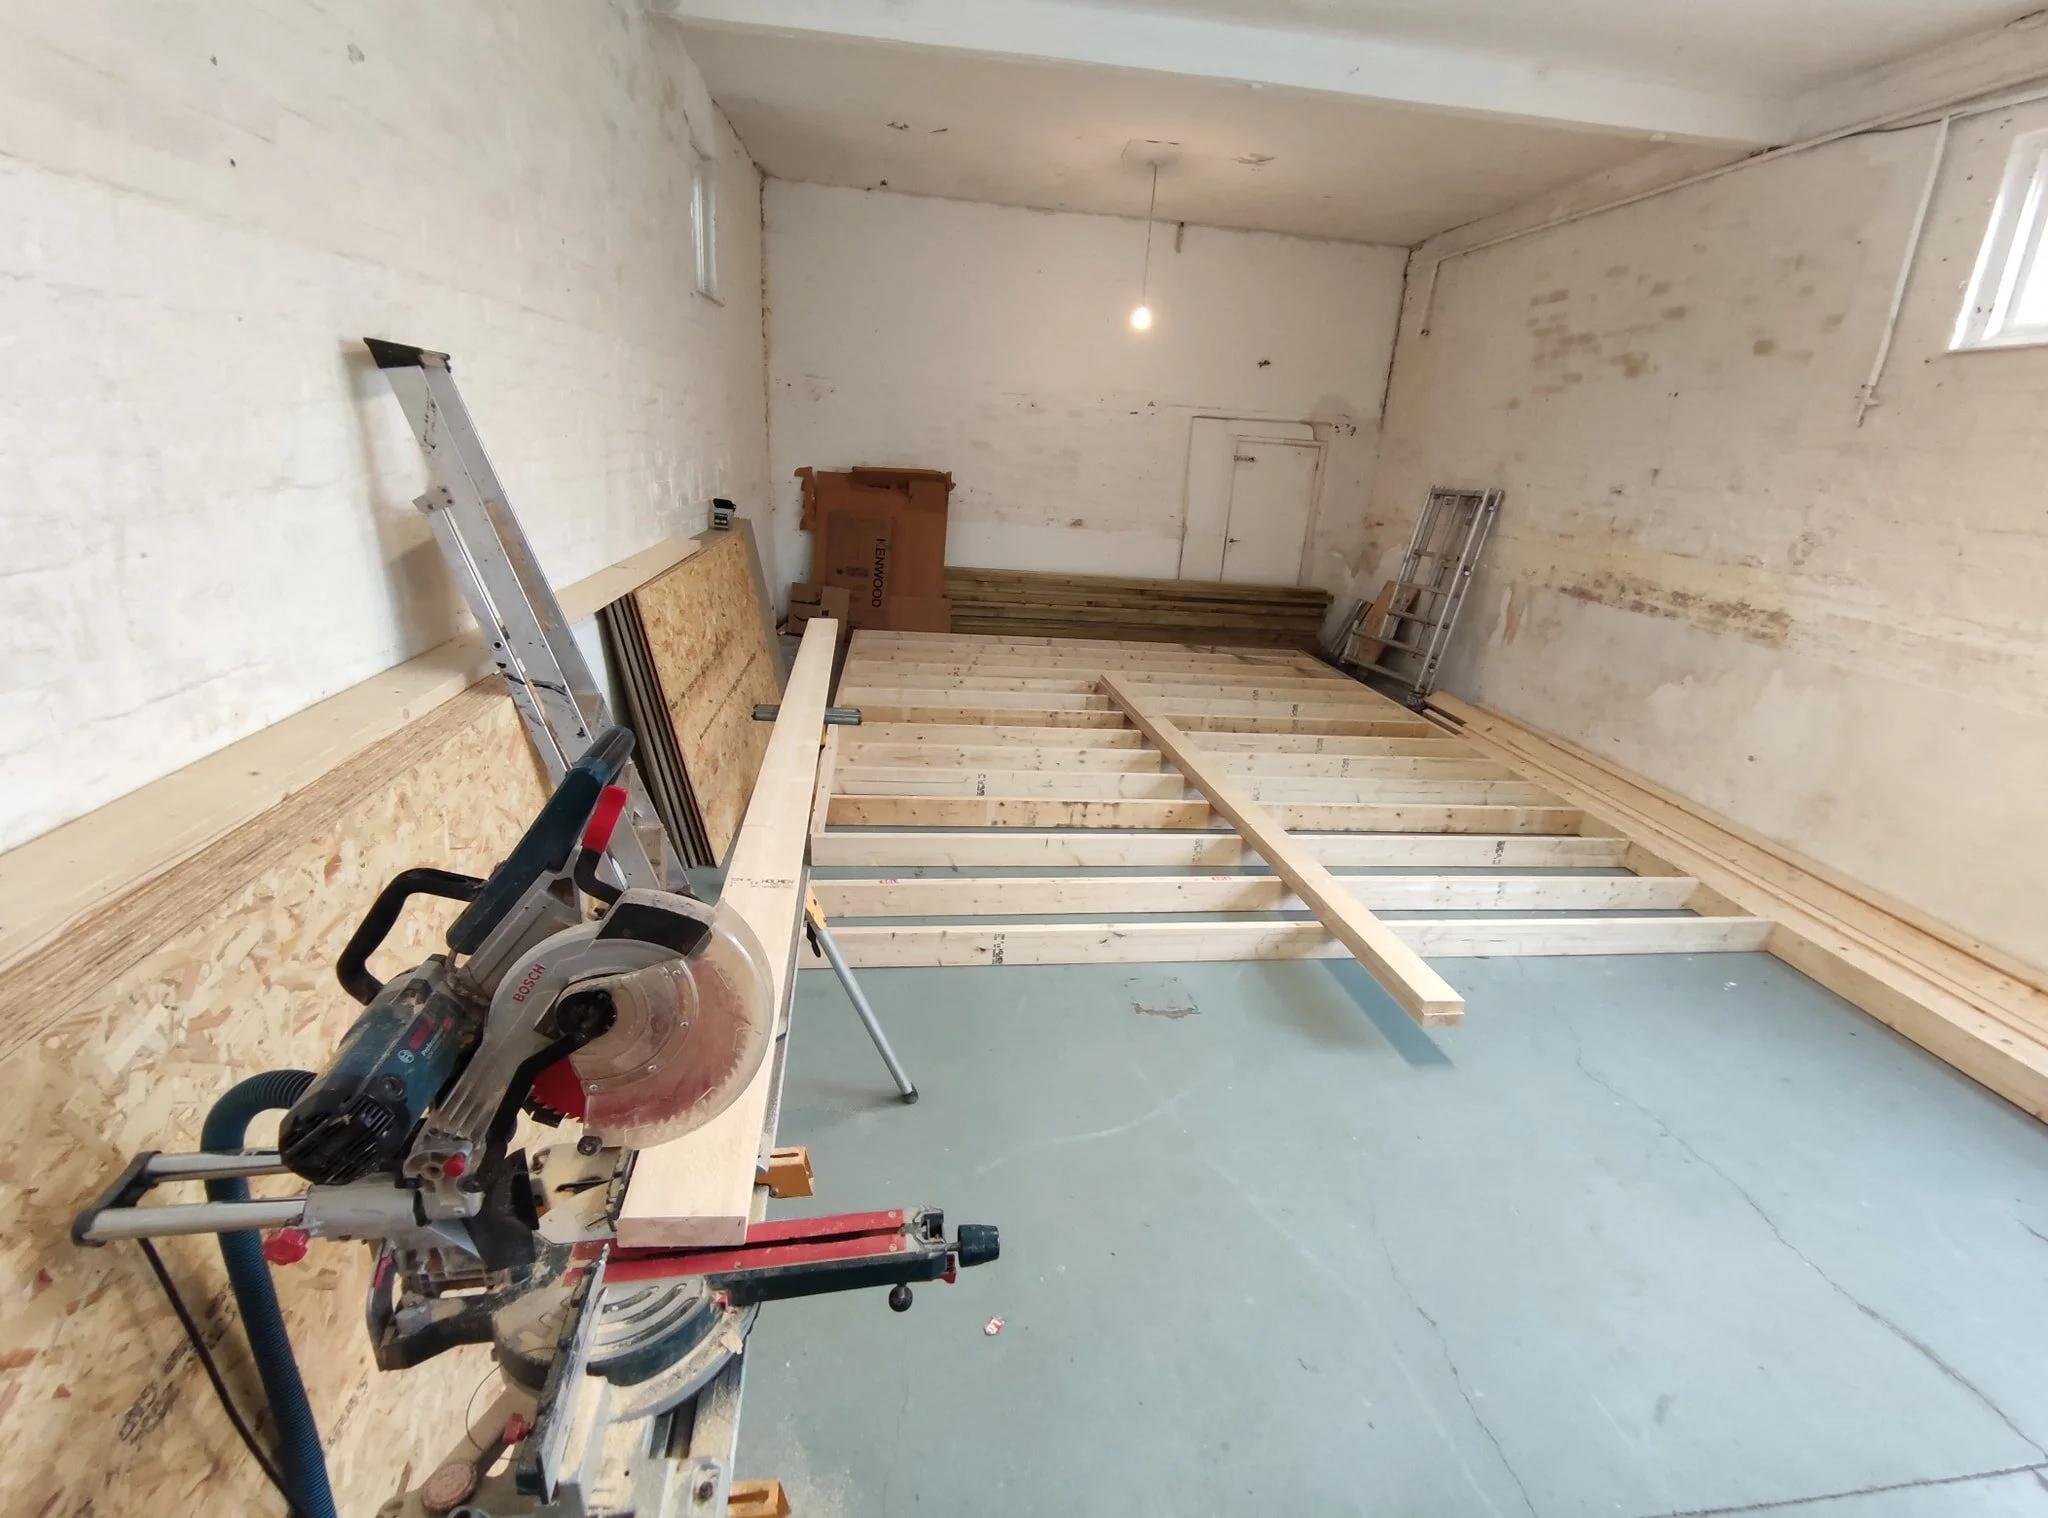
The Build Process – Week 1
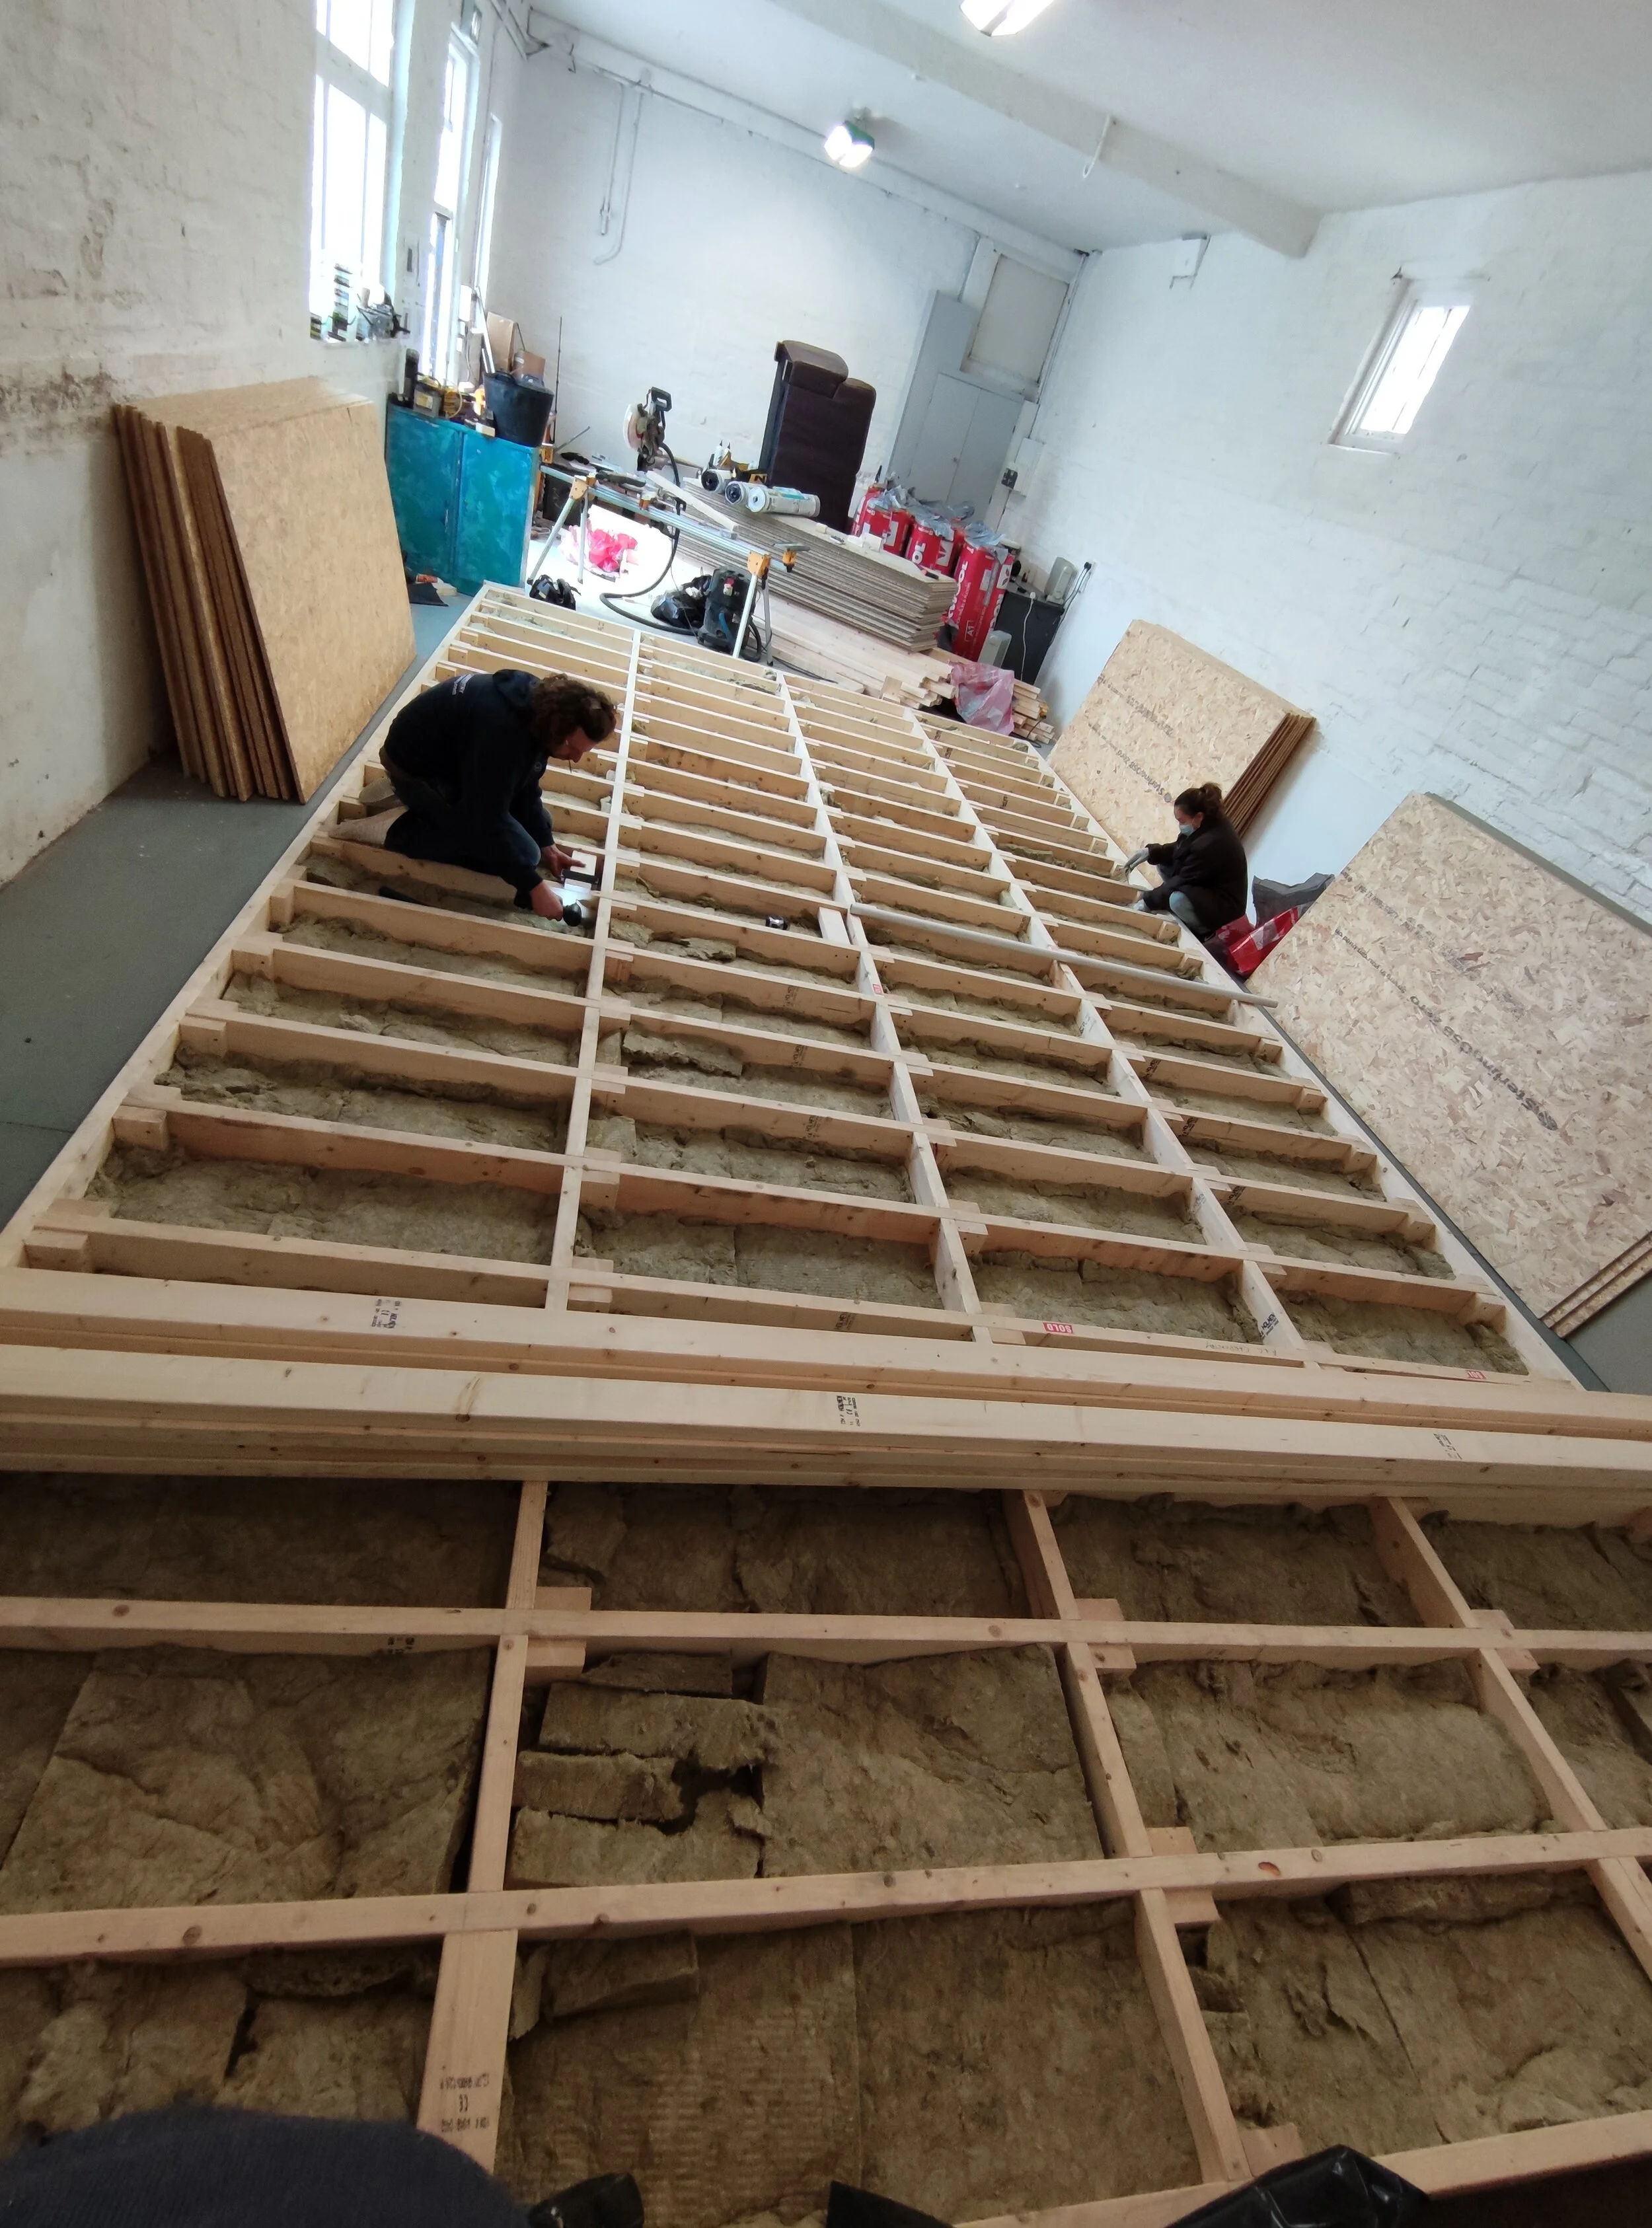
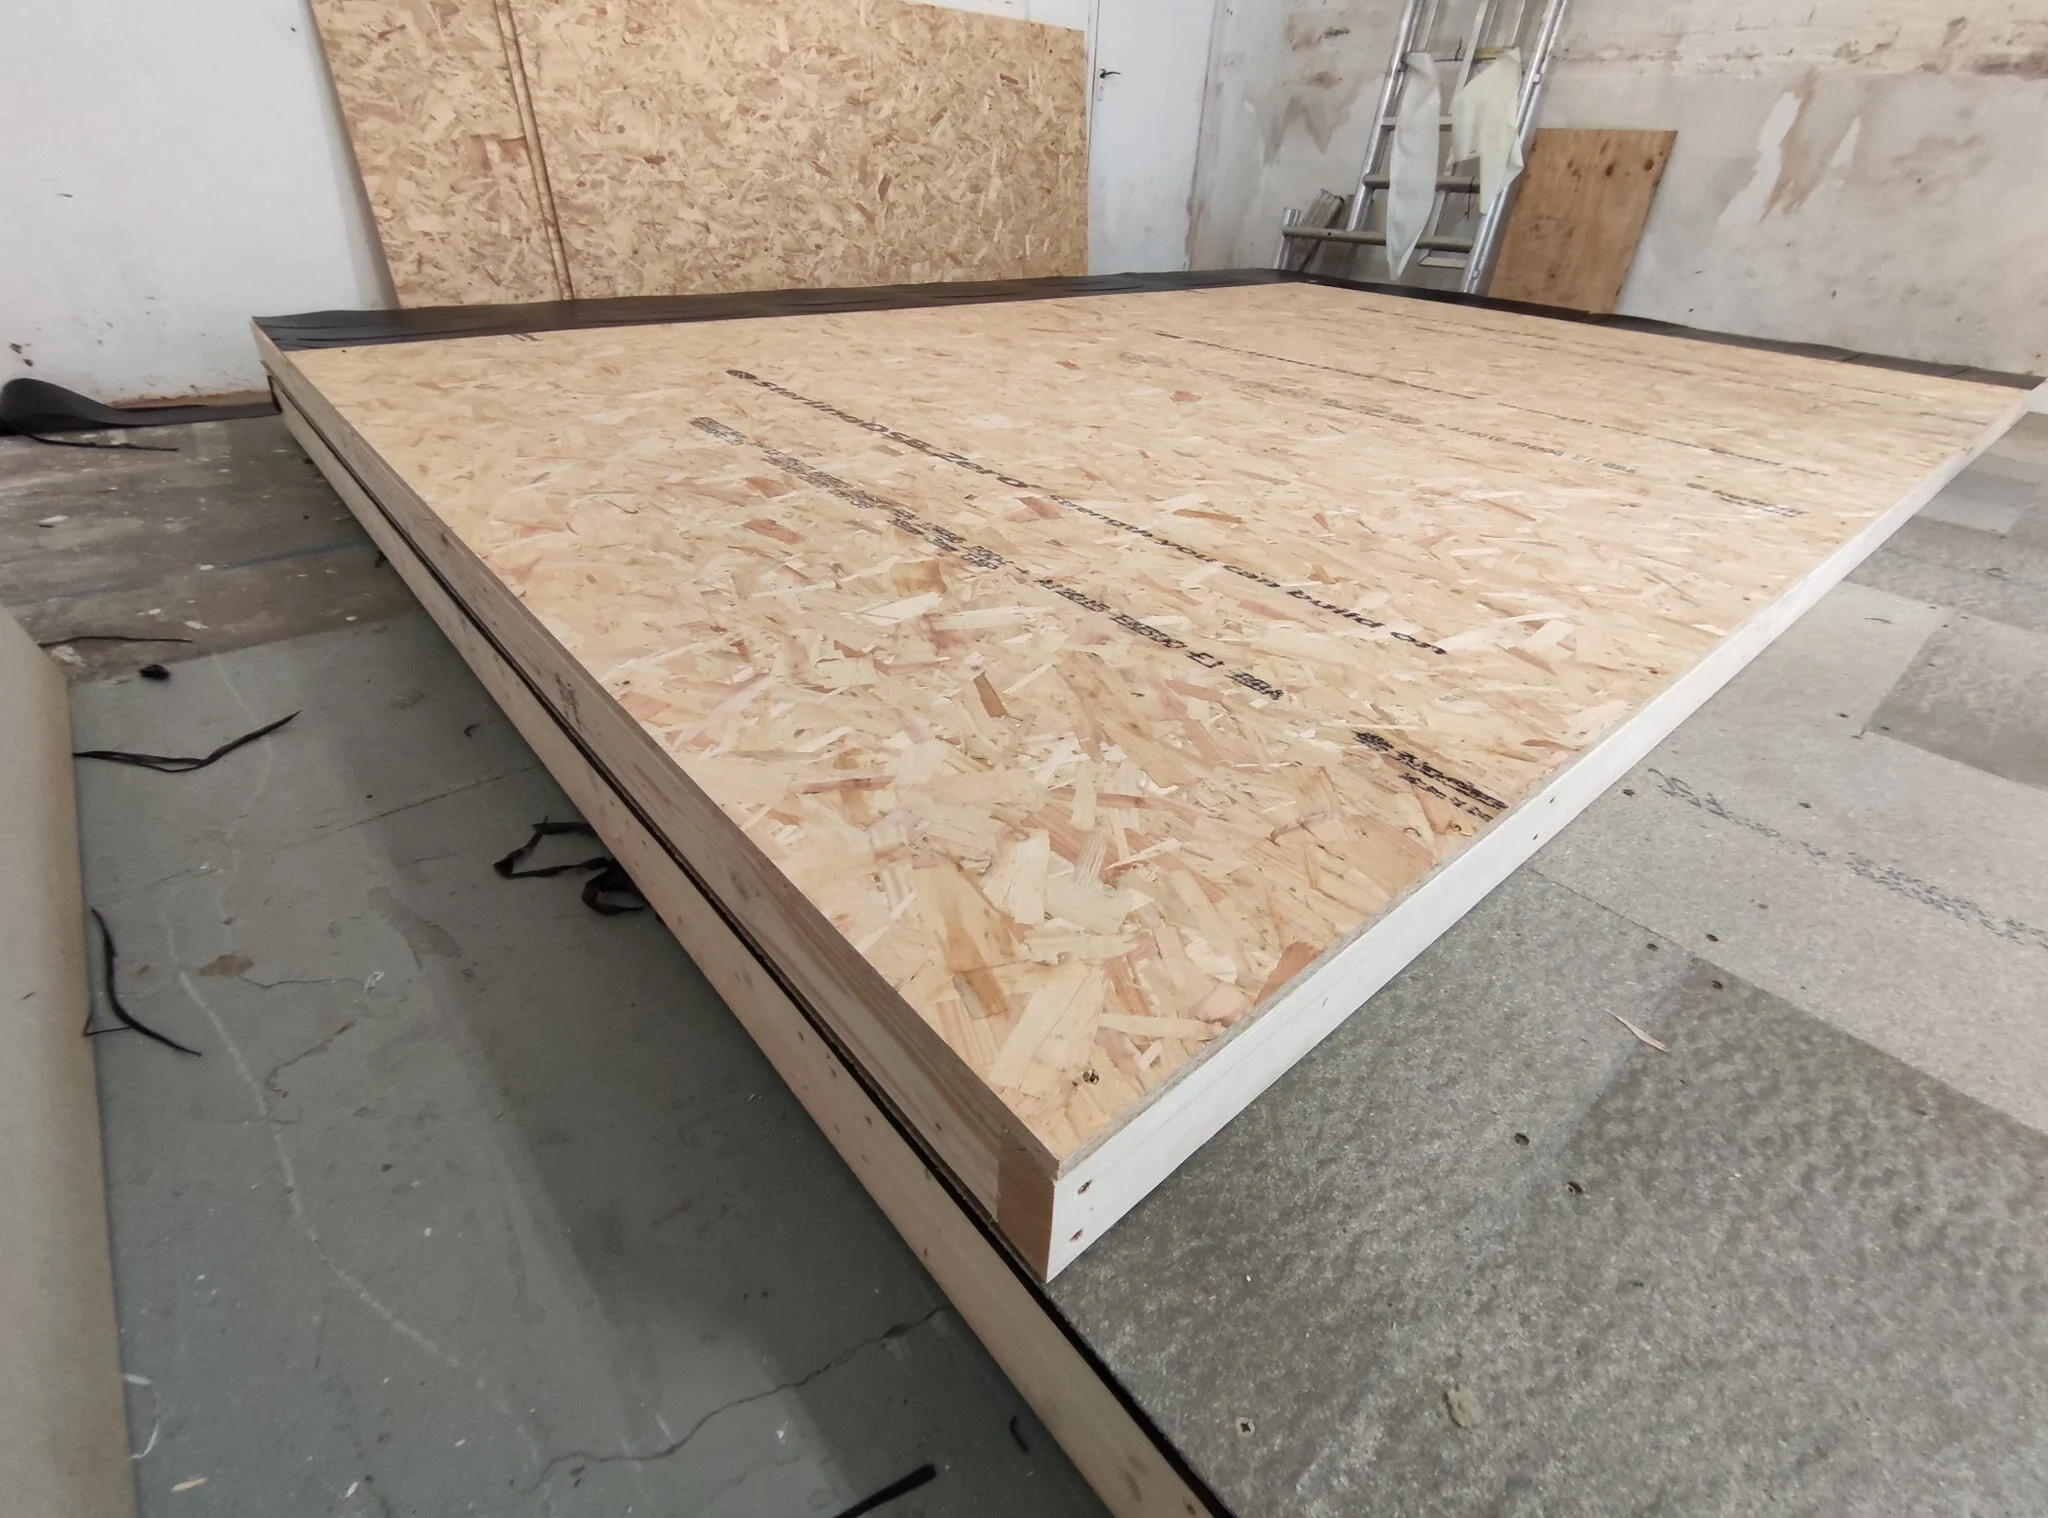
1. Floor Joists & Foundation
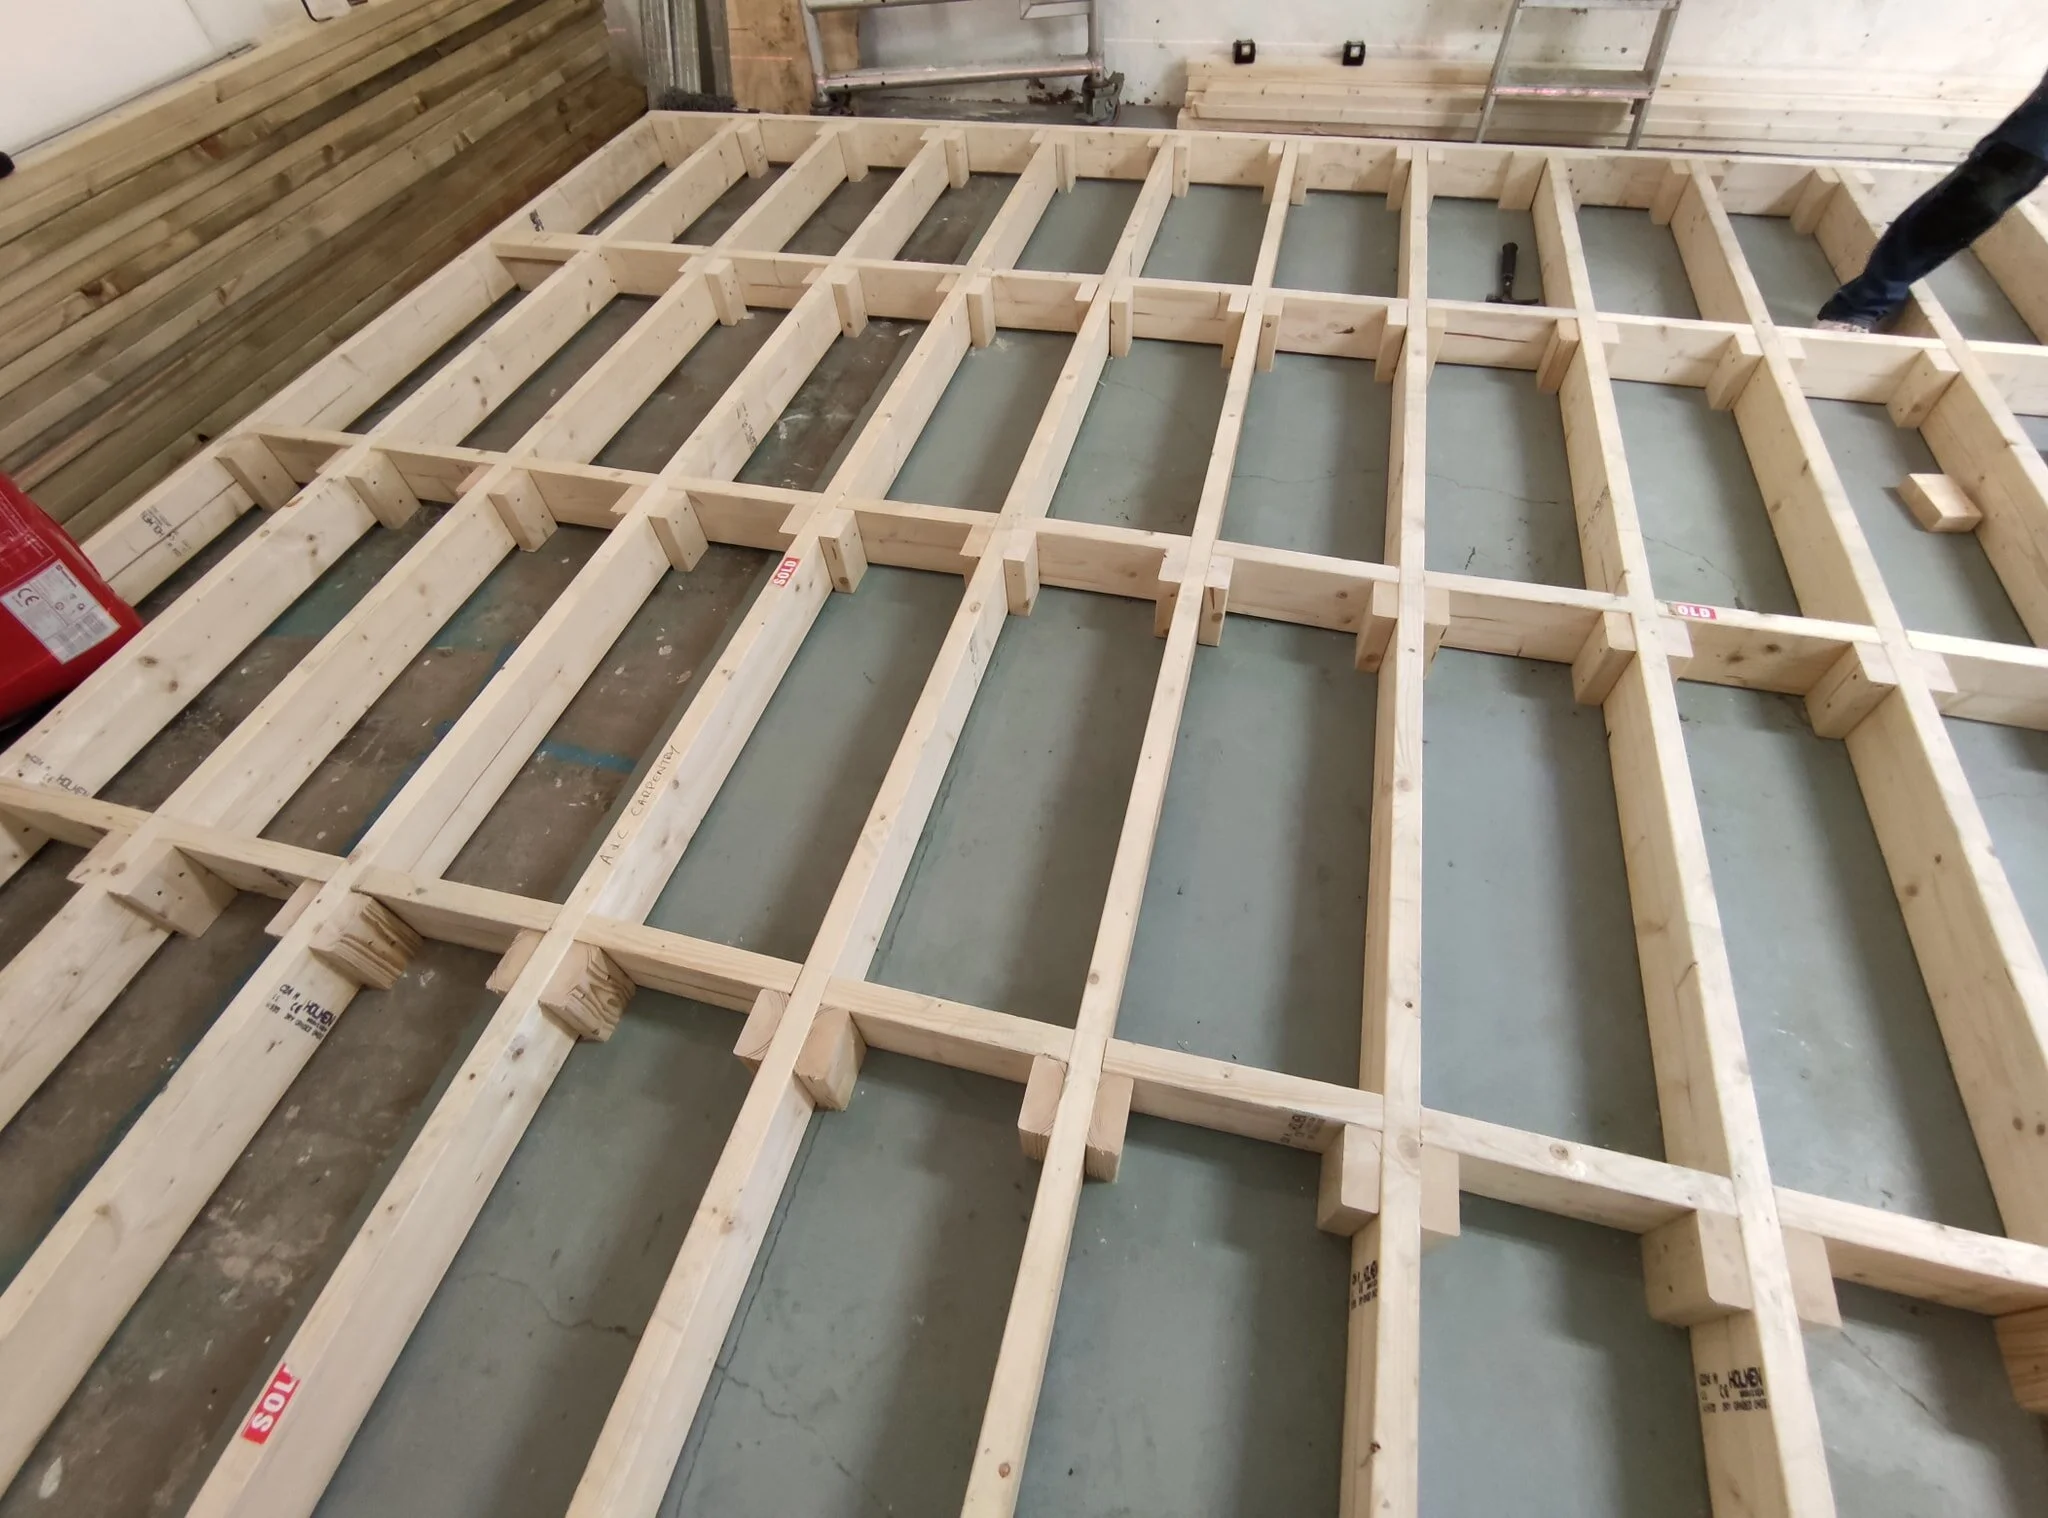
We framed out the floor using 6x2 boards, with joists spaced 40cm apart and strengthened by noggins every metre. To ensure complete stability, we used laser-level measurements and added over 240 supporting piers — creating a rock-solid base.
One key decision: no nails, only screws. Why? Because nails can squeak and creak over time, which is the last thing you want in a cinema room.
2. Sound Isolation with Rockwool
Between the joists, we installed Rockwool insulation. This mineral wool absorbs sound vibrations, reduces resonance, and also keeps the room warm. It’s a crucial step in creating a soundproof, acoustically inert environment.
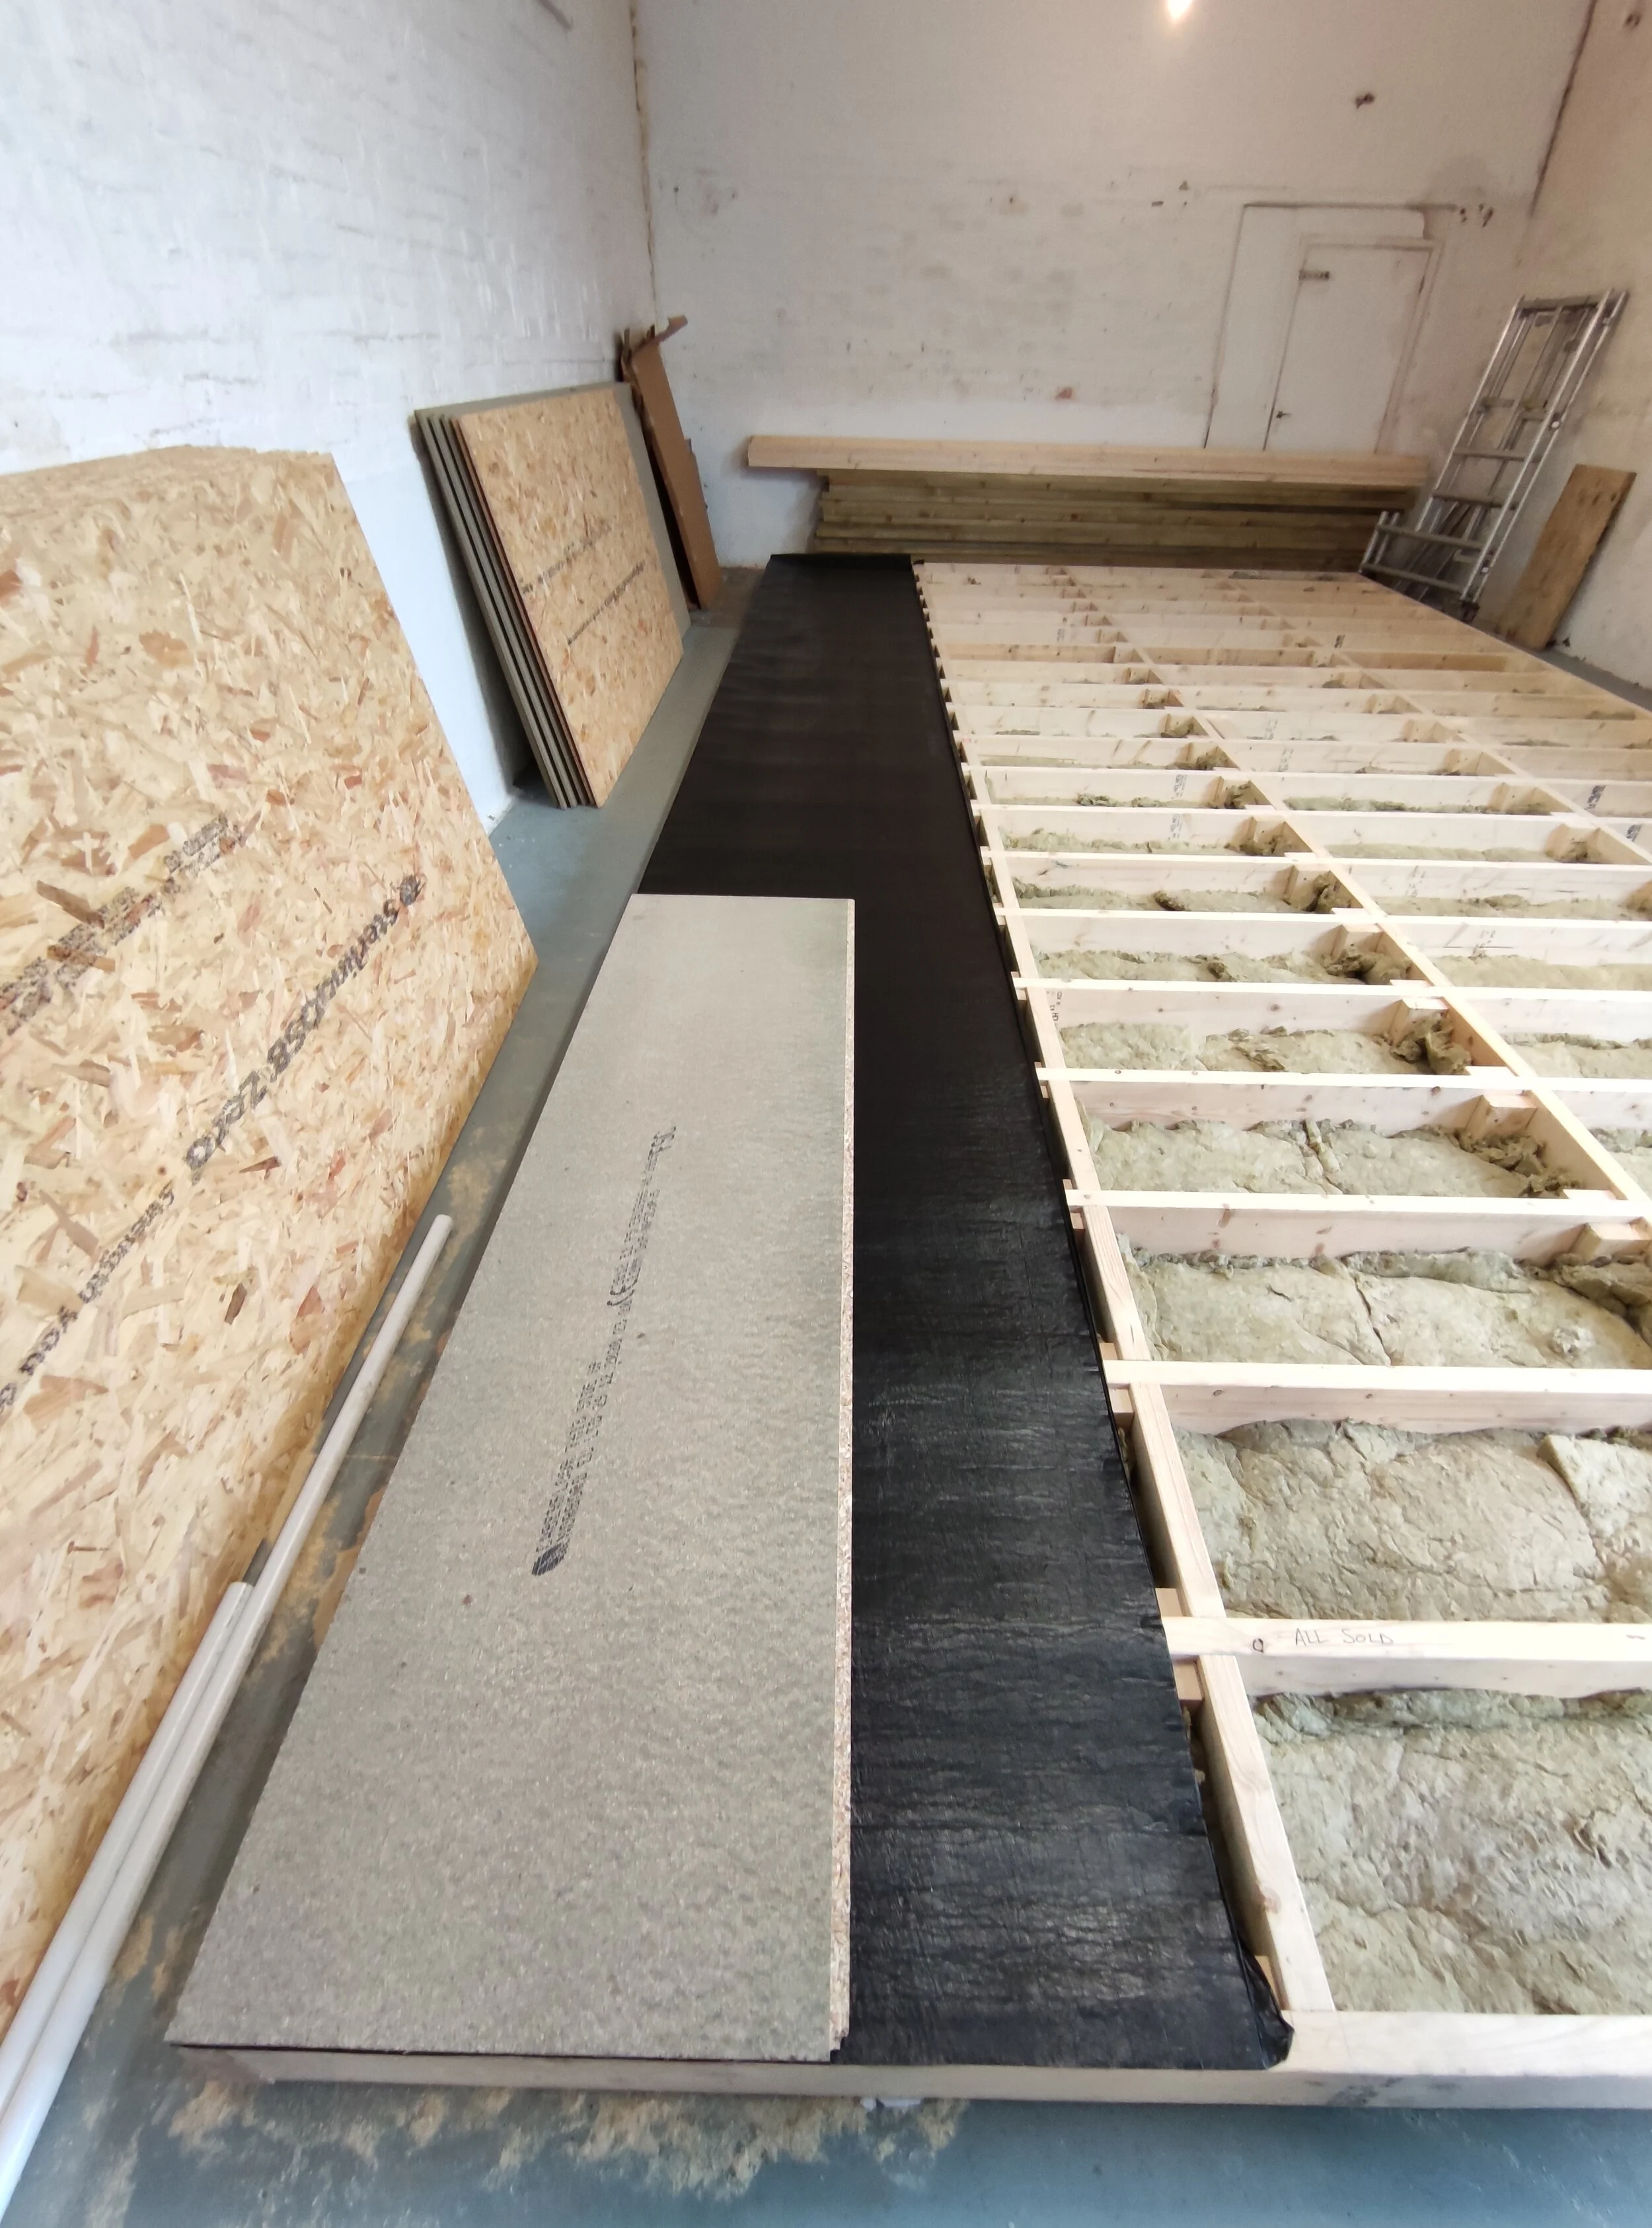
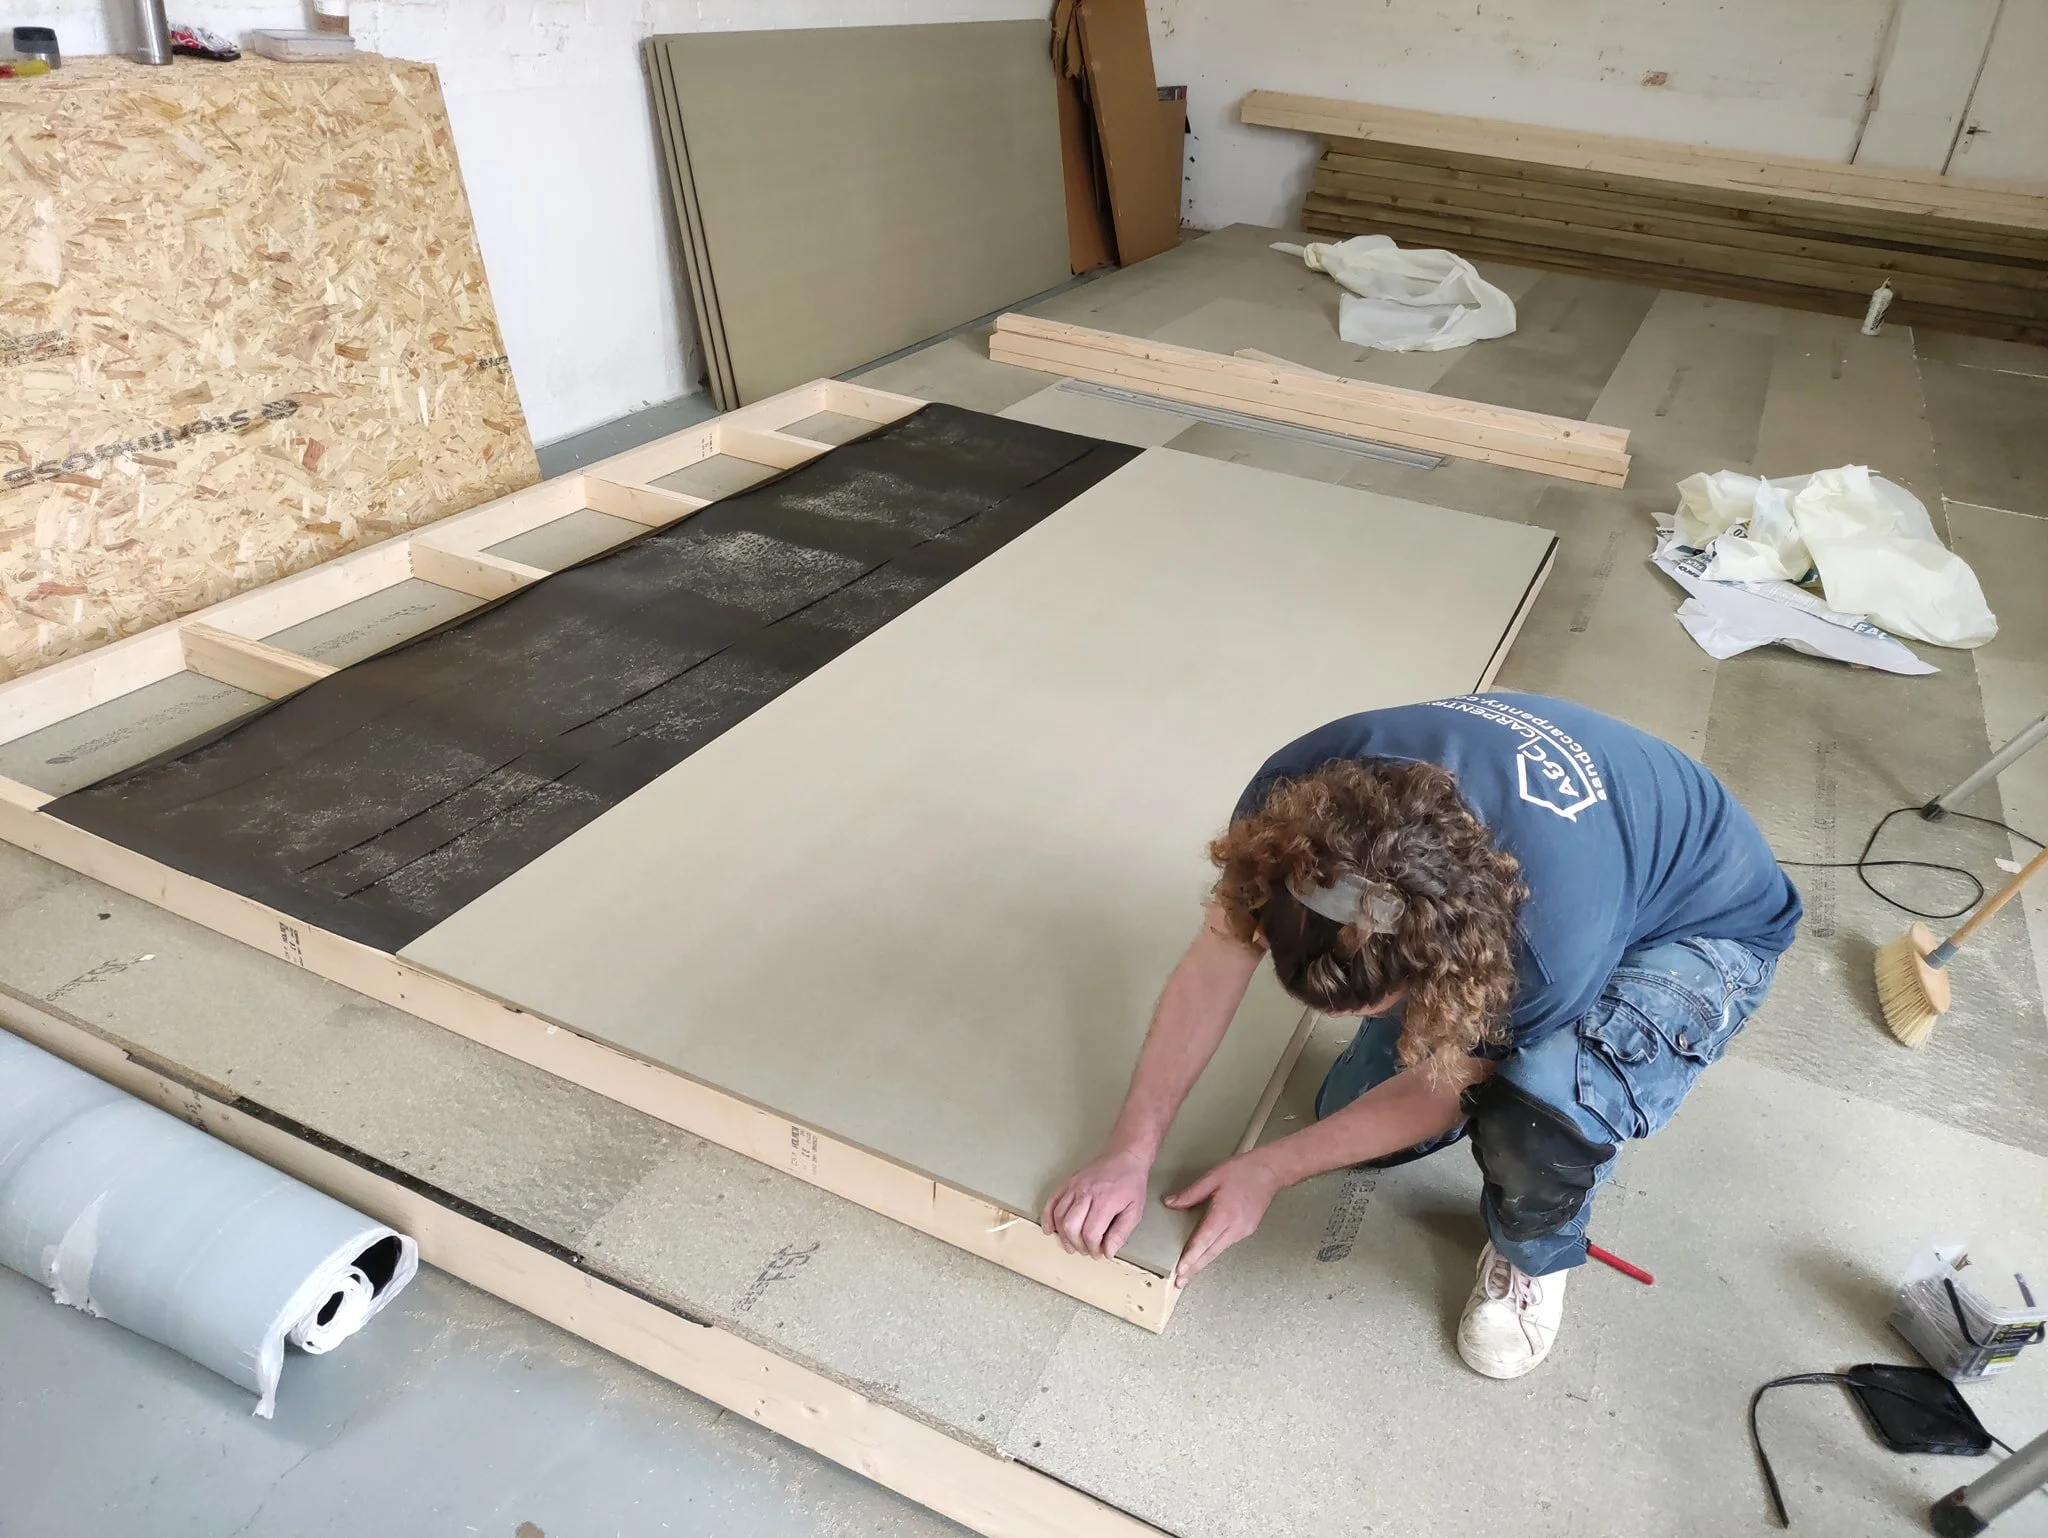
3. Bitumen & Floorboards
A bitumen layer was stretched between the joists and chipboard flooring to add further decoupling and noise reduction. On top, we laid 22mm tongue-and-groove chipboard, glued with expanding polyurethane for strength and stability.
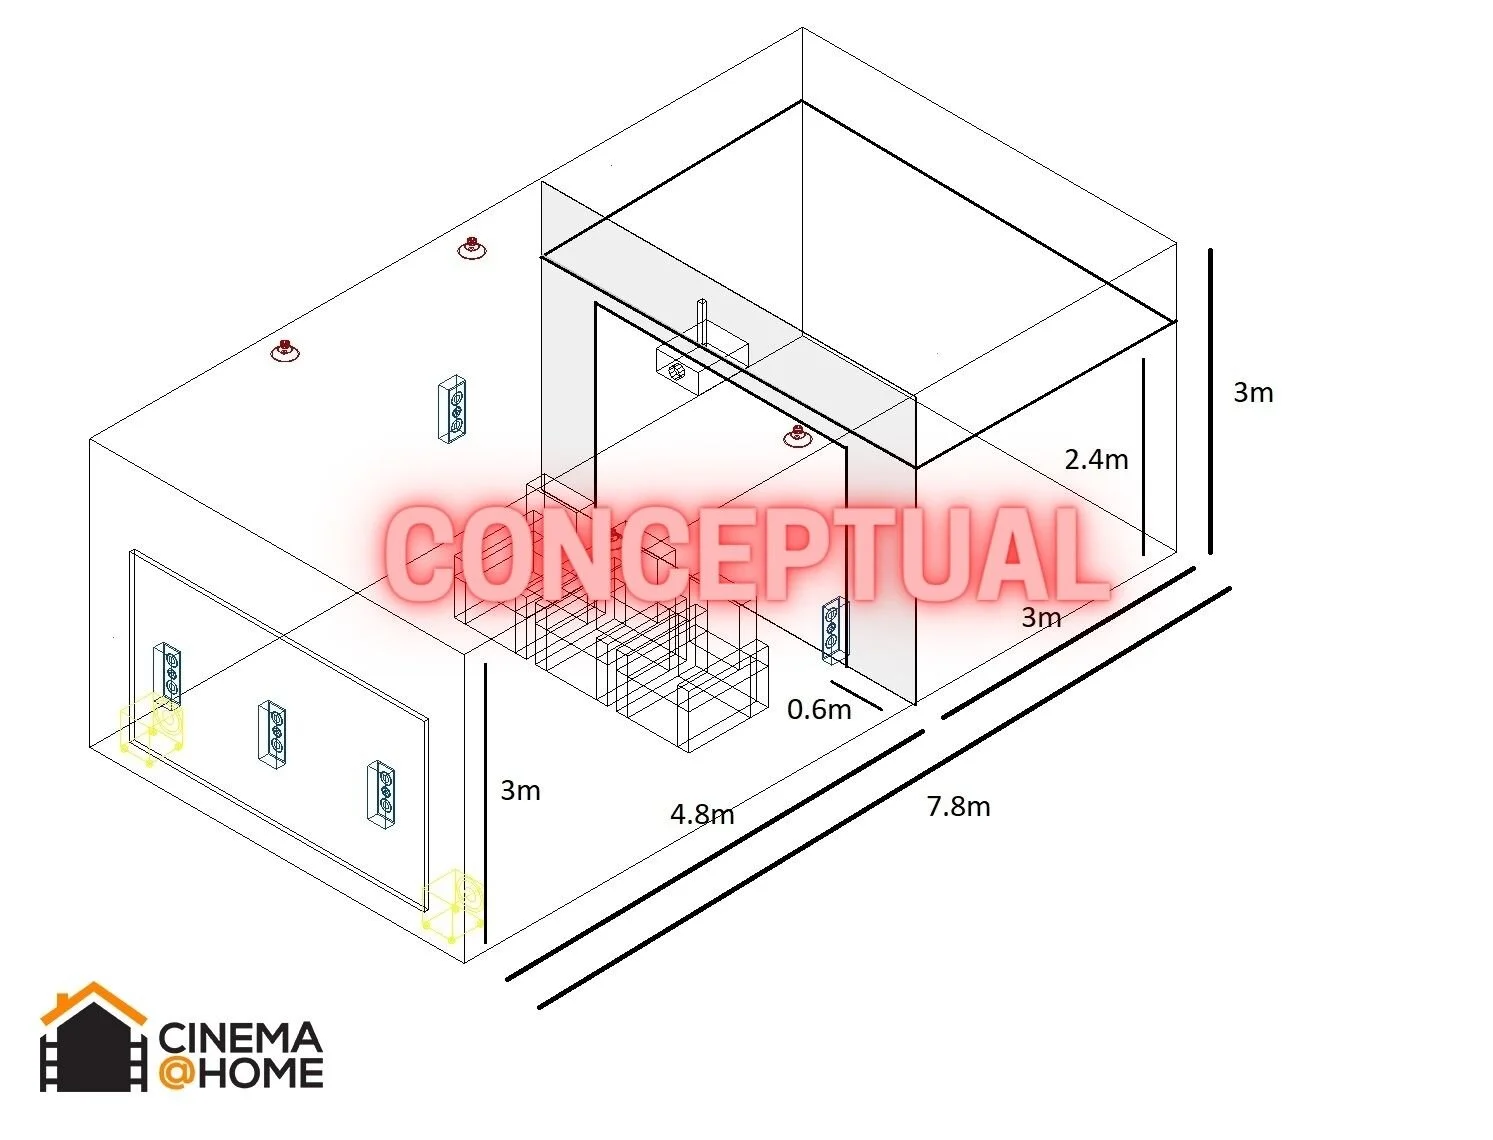
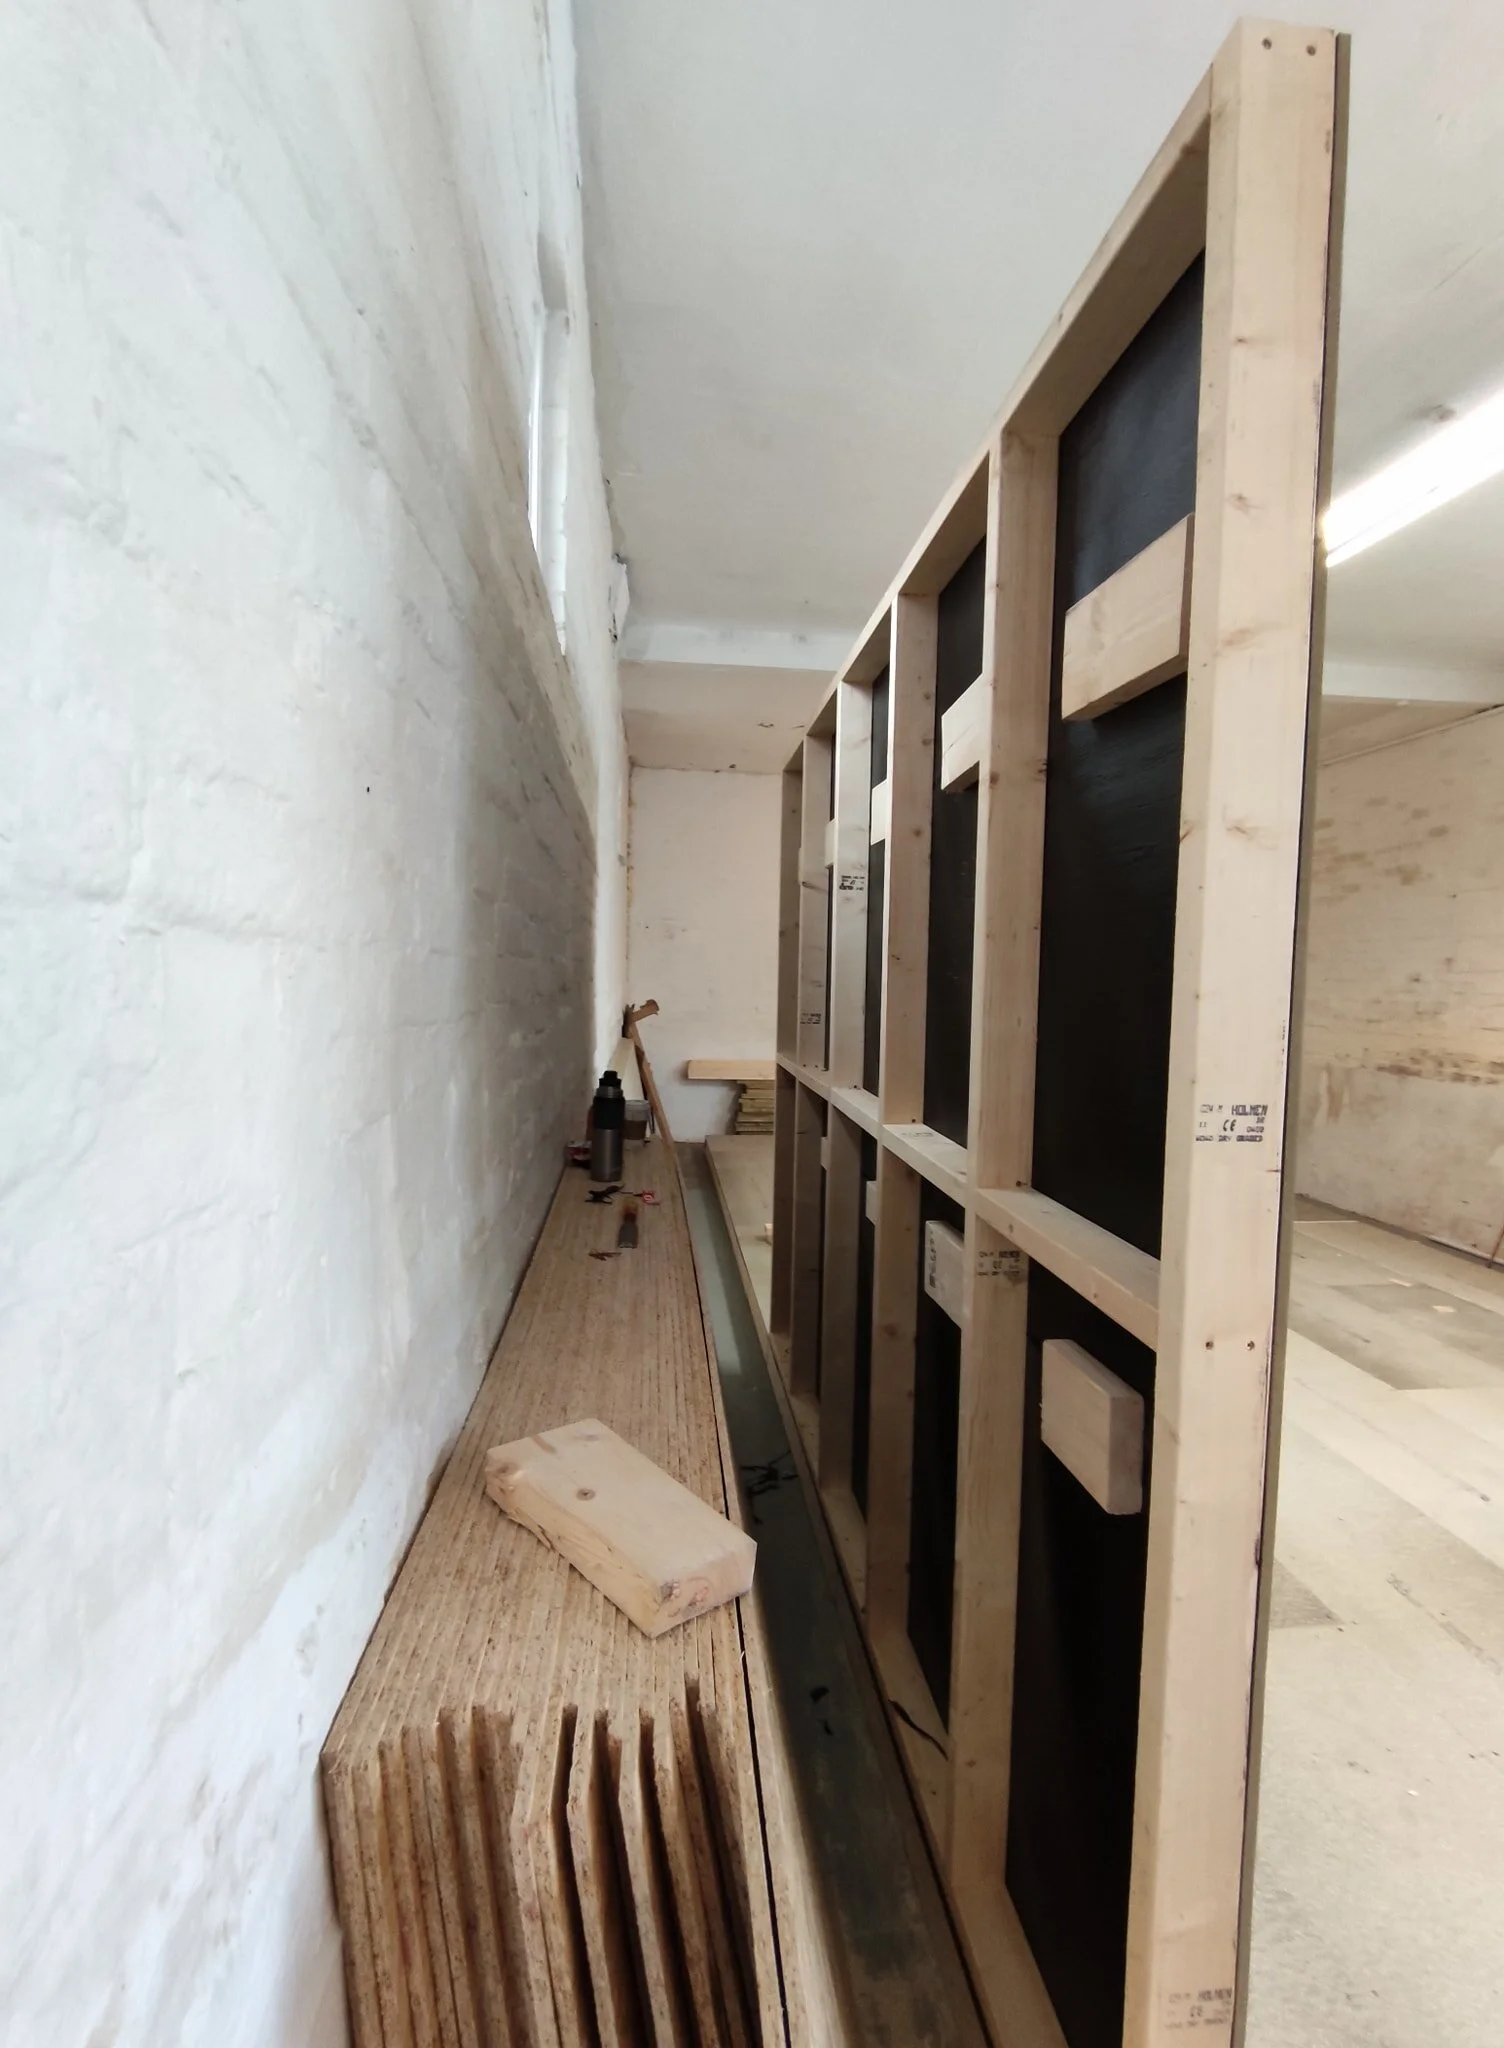
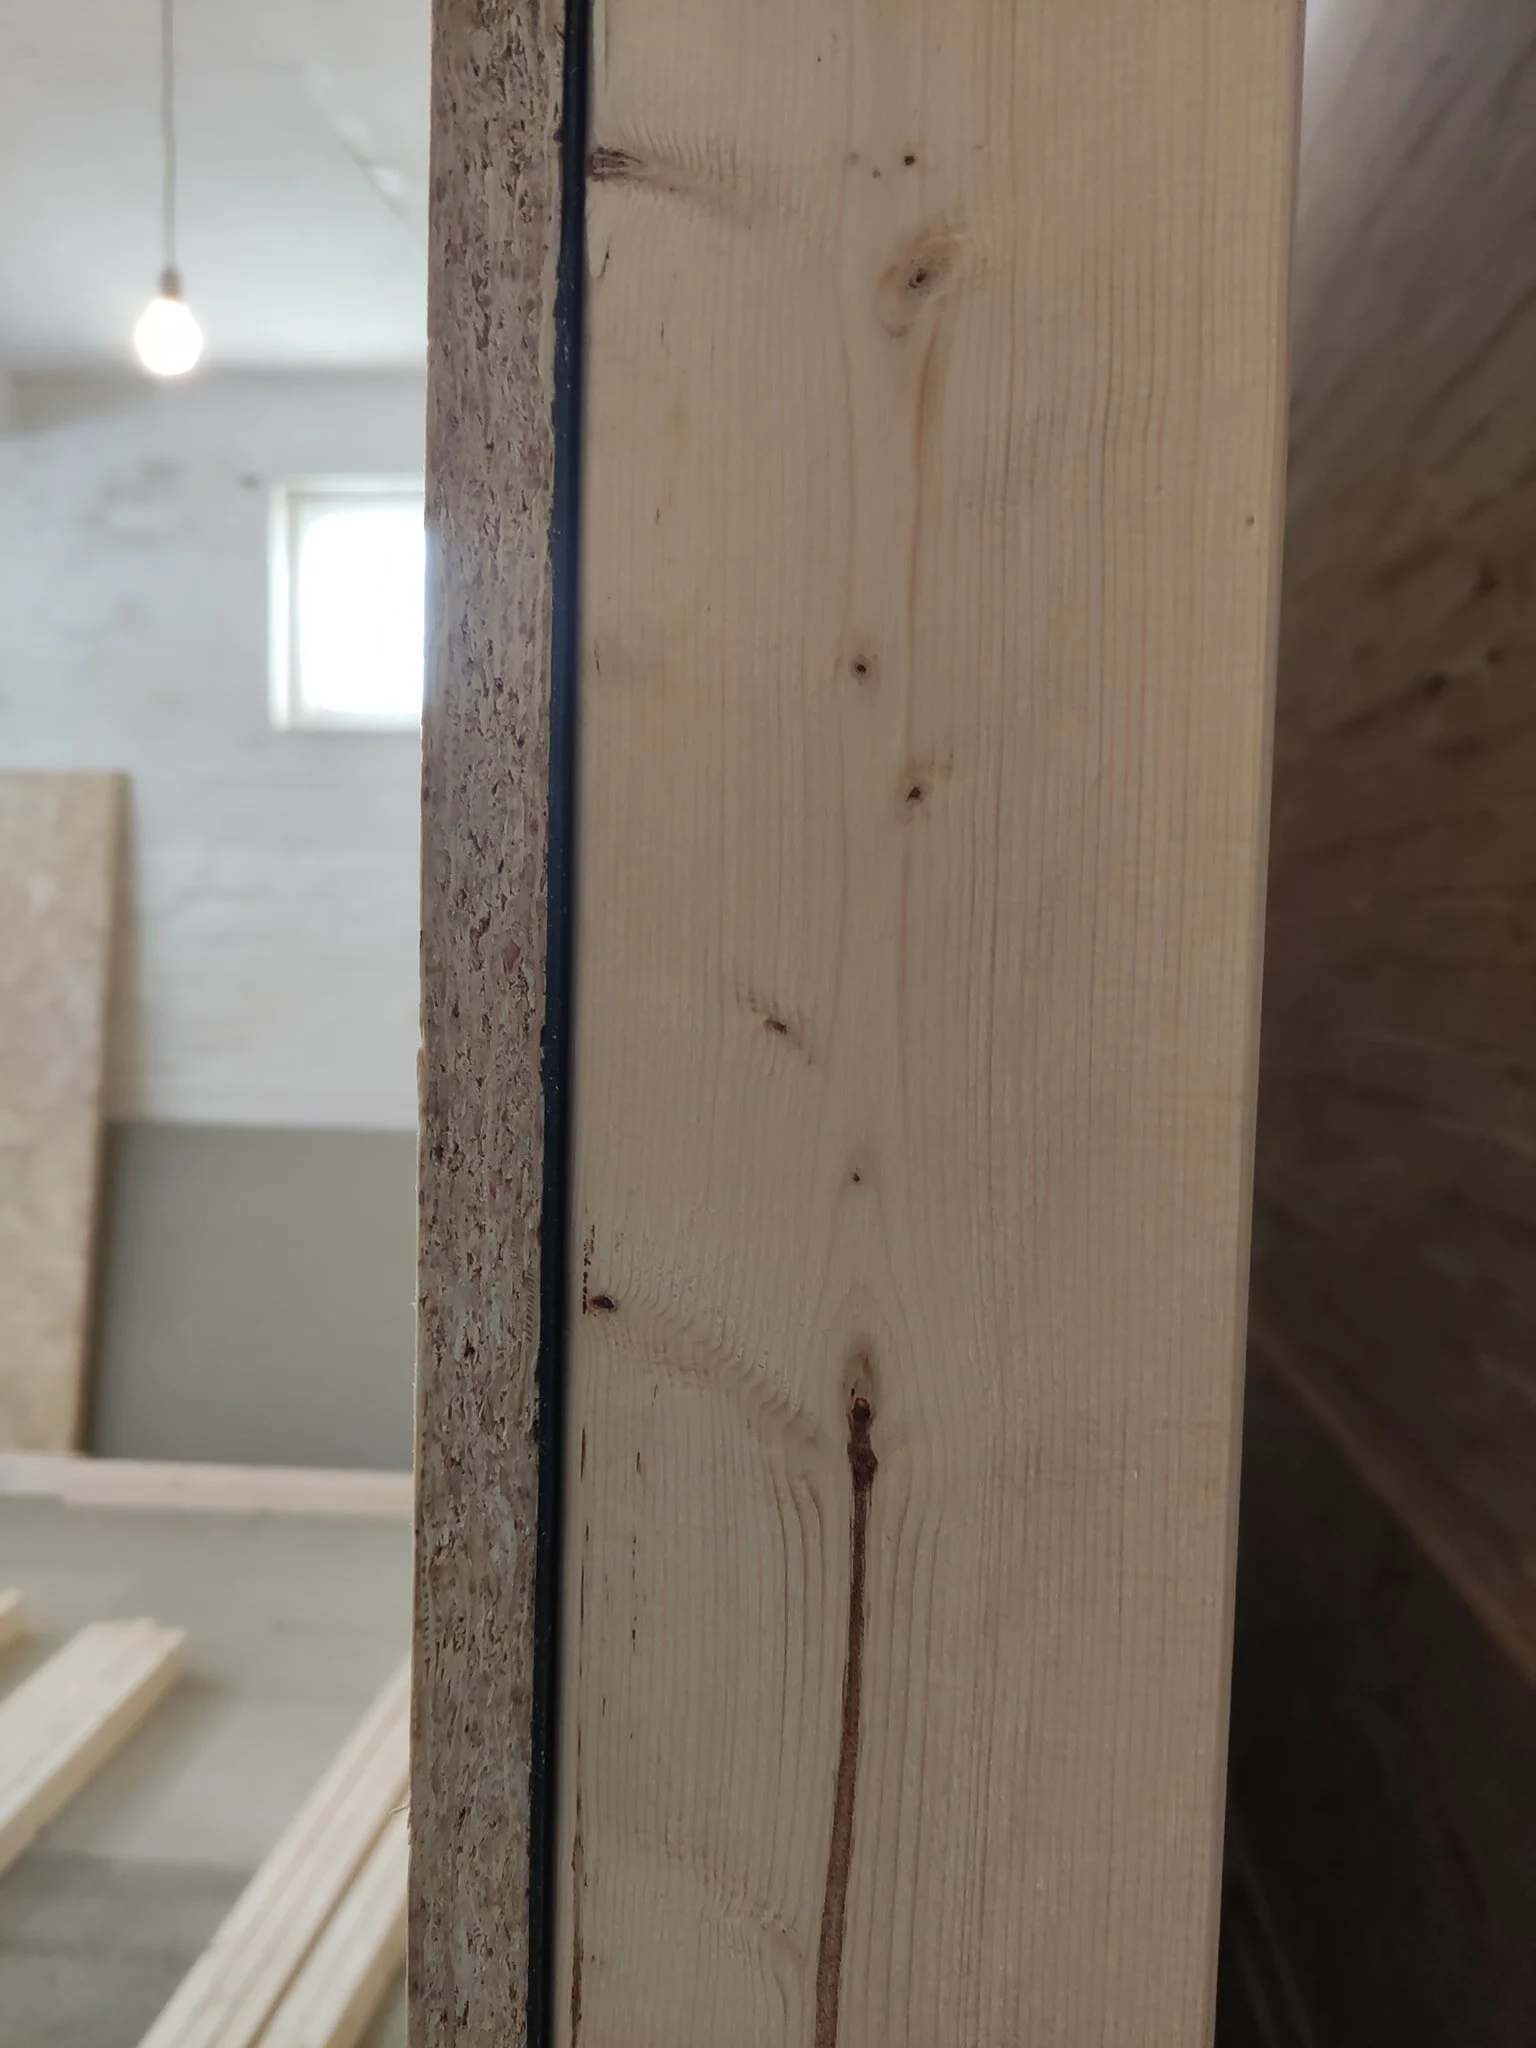
4. The Walls Go Up
With the floor complete, we began framing the walls. The office portion stands at 2.4m high, while the cinema section will be an impressive 3m high. Each wall is deliberately built using different materials and thicknesses to disrupt resonance and improve acoustic performance.
By the end of Week 1, we had:
Used over 3 tons of wood
Driven in more than 3,200 screws
Built a structure entirely without nails
It’s already starting to take shape — and we can’t wait to share the next stage.
What’s Next?
Next week, we’ll move on to more detailed construction: wall treatments, ceiling framework, and the first steps in acoustic engineering. This room will become the ultimate place to experience true cinematic immersion before bringing it into your home.
Stay tuned as the journey continues!